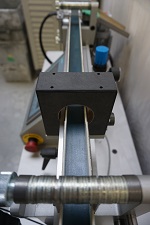
The surface testing equipment detects defects such as bulges, cracks, colour differences, contamination, burrs and break-outs.
We carry out surface inspection of elastomers, in particular rubber rings (O-rings, ribbed rings, sealing rings), with special surface inspection systems. These systems are equipped with two glass plates and a turning station, among other things, making a broad range of testing jobs possible.
Thanks to the surface testing on our system with turning station, it is possible to test from two sides with consistent accuracy. This means, several test options are possible on both sides:
- A classic surface inspection, which inspects the component "from above" for defects such as dirt, burrs, chips or flaws
- An "external view" to look for defects or contamination on the lateral surface of the shell
- An "inside view" to look for defects or contamination on the inner surface

Cracks and pores on electrically conductive surfaces can be detected with hardness testing equipment using the eddy current method. This is a non-destructive testing method for detecting defects such as cracks on the surface of a component or nonhardened components.
The surface is scanned with a non-contact probe. The probe and a coil with alternating current generate a magnetic field. This induces eddy currents on the surface of the test component. The generated eddy currents create electromagnetic fields that are identified by the test probe.
For hardness testing, the machine needs hardened and unhardened samples in order to be calibrated.